
Tools you need, others you want in order to make Sourdough Bread
Over the past few mother’s days, 33rd & 34th birthdays, and other holiday gifts, I’ve received wish-list items from my husband from my favorite online store, King Arthur Baking.
However, I didn’t exactly start glamorous or fancy with my sourdough journey. In fact, the beginnings were so simple, I used a hand-me-down pyrex with lid to create my first starter, and a lightly covered jar from IKEA as my sourdough crock. I’m rocking this fancy-dancy one now, and it’s so easy to maintain!
So, what is it that you REALLY need to make your first loaf of bread?
The answer: not very much. But, you can always upgrade as you go!
There were many little additions and tweaks to my tools, but I wanted to run down the things you absolutely NEED to get started with baking sourdough bread that will help you make your first loaf.
Mixing your first recipe
First, you need a scale. One that will measure “g” grams because sourdough is all about measuring accurately.
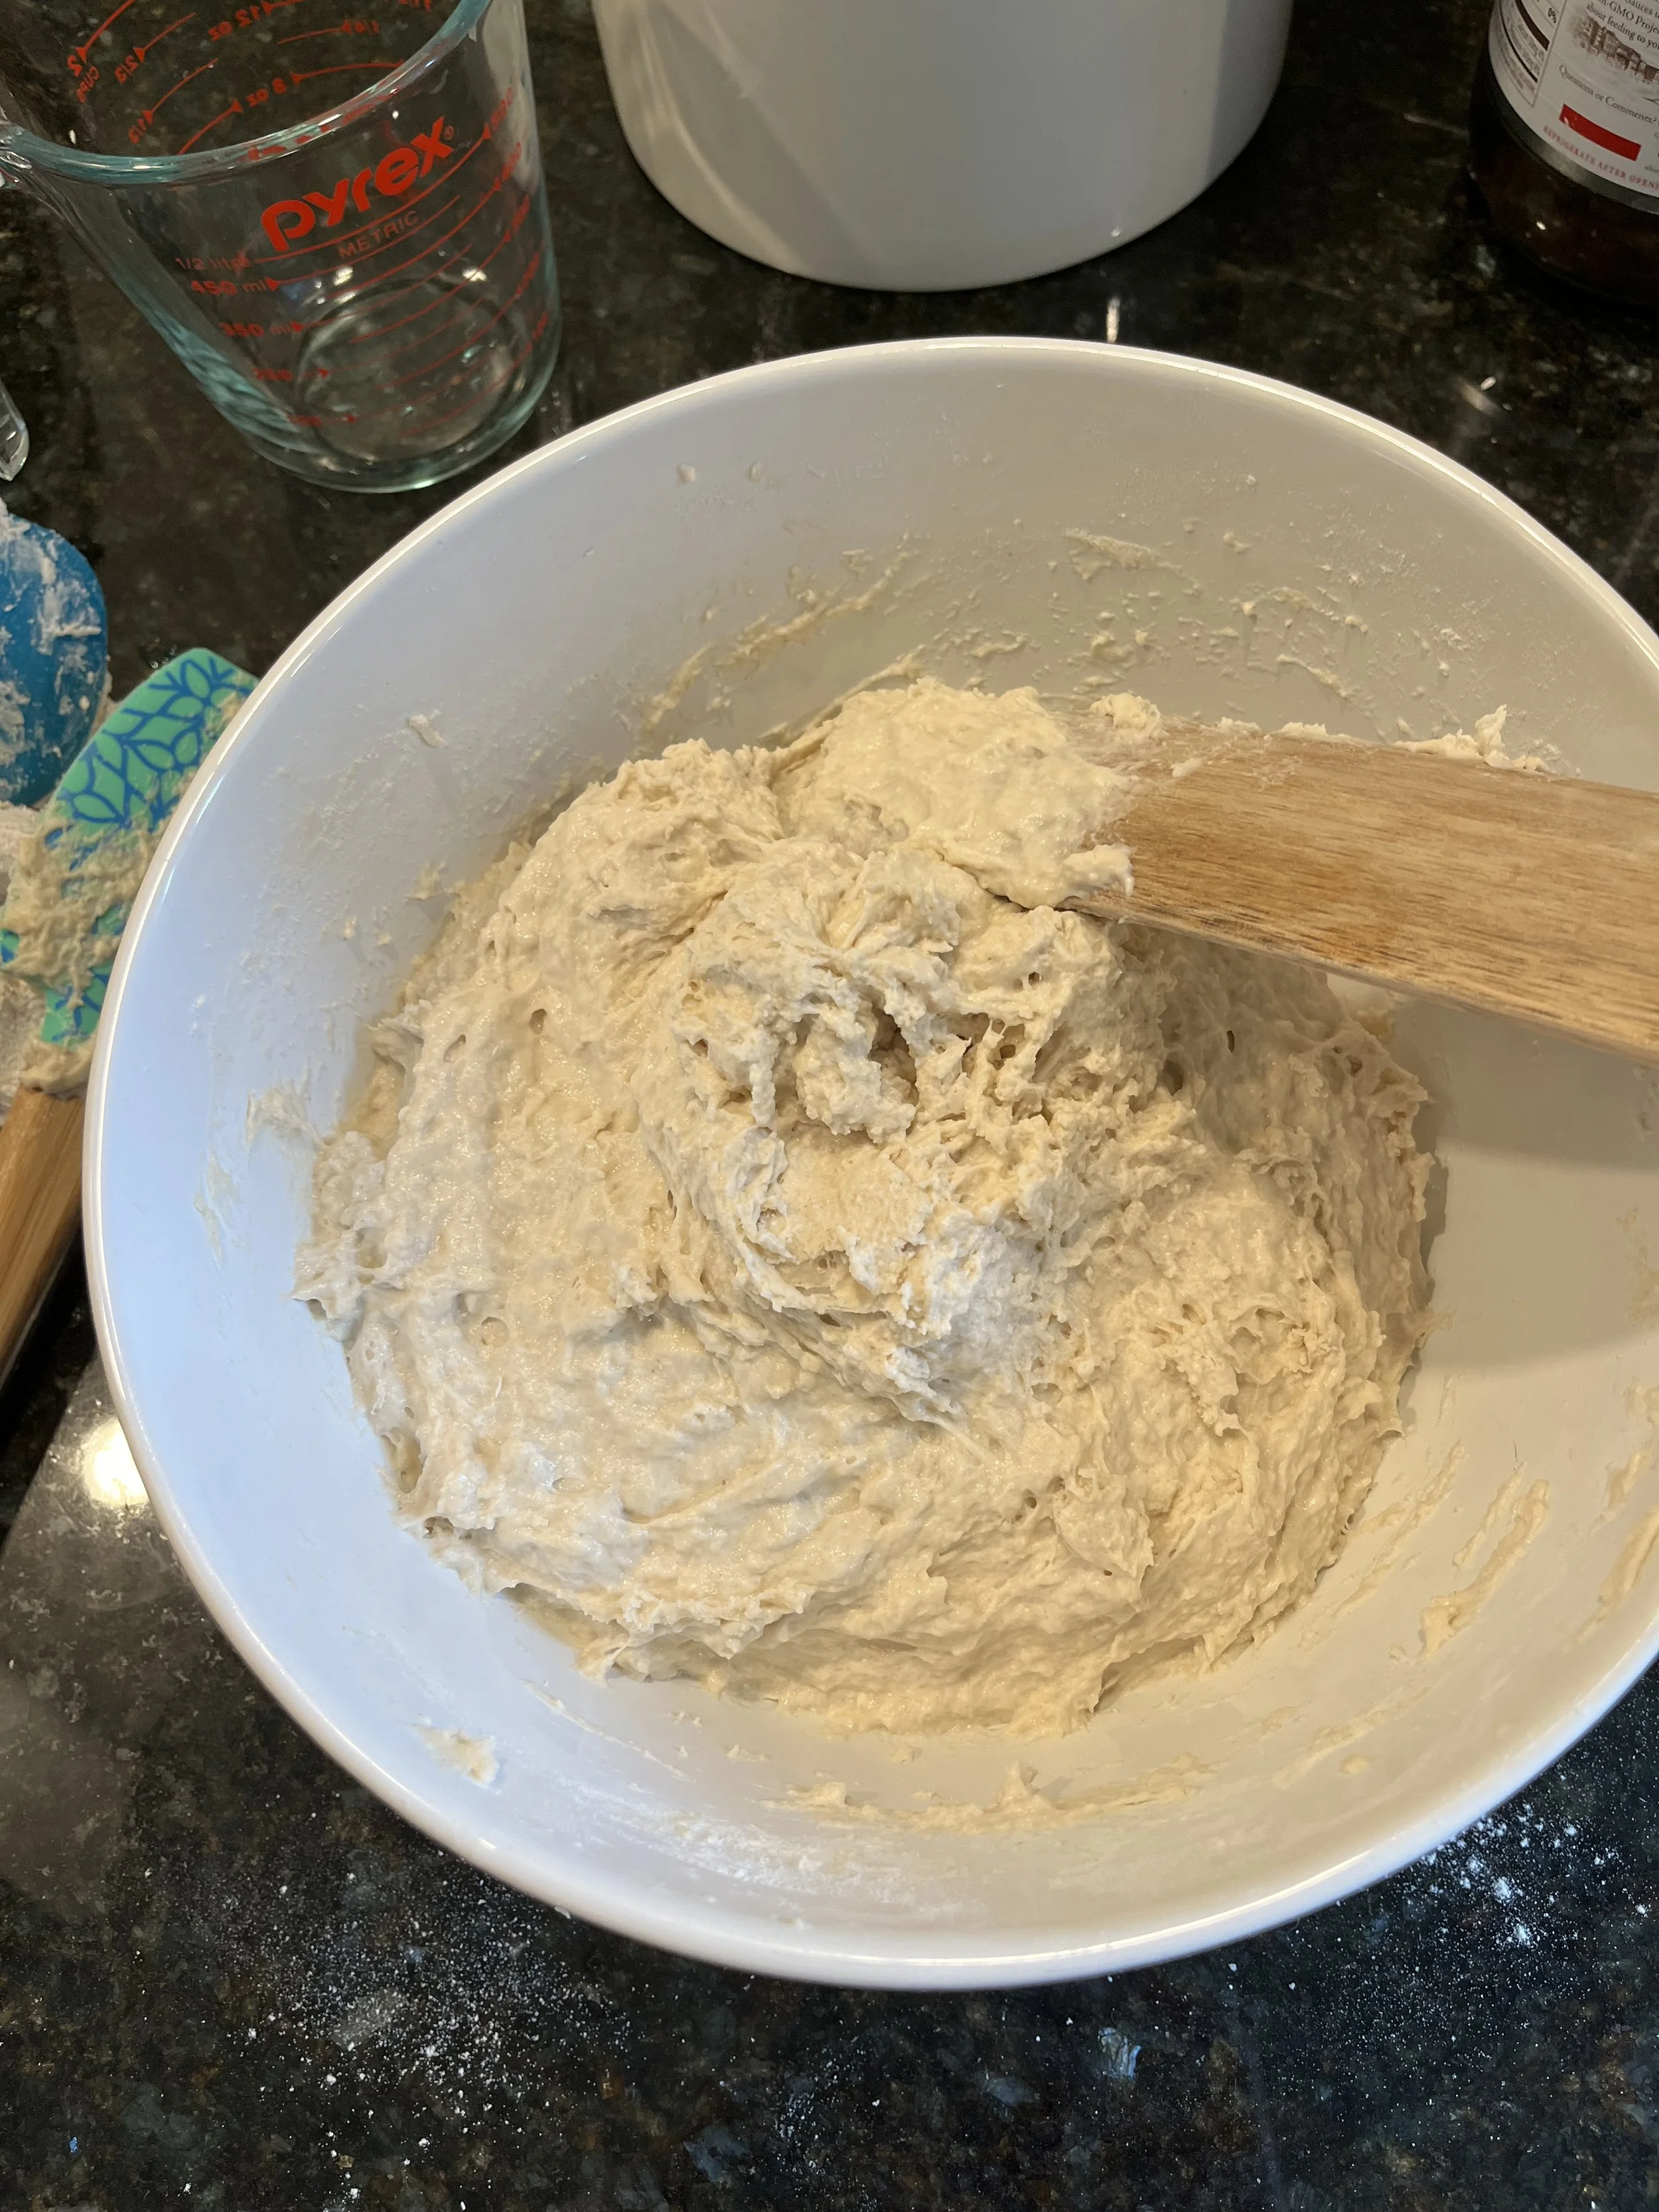
Next, you want a big bowl and two smaller bowls (see below). I prefer a heavy ceramic bowl to mix all your ingredients. You may see me using the set from our wedding registry, but a mixing bowl of your liking does just fine. Opt to get any large 6 qt. bowl that you please.
What do I mix with? I started with just a wooden spoon and scraped the sides with a falling apart bowl scraper tool, but you can fancy-up with this Baker’s whisk, which is something I have now!
I still don’t have any fancy kitchen cloths, just some cotton towels I’ve had for years. Would love to upgrade these sometime, but it’s really uneccesary.
Maintaining Your Dough
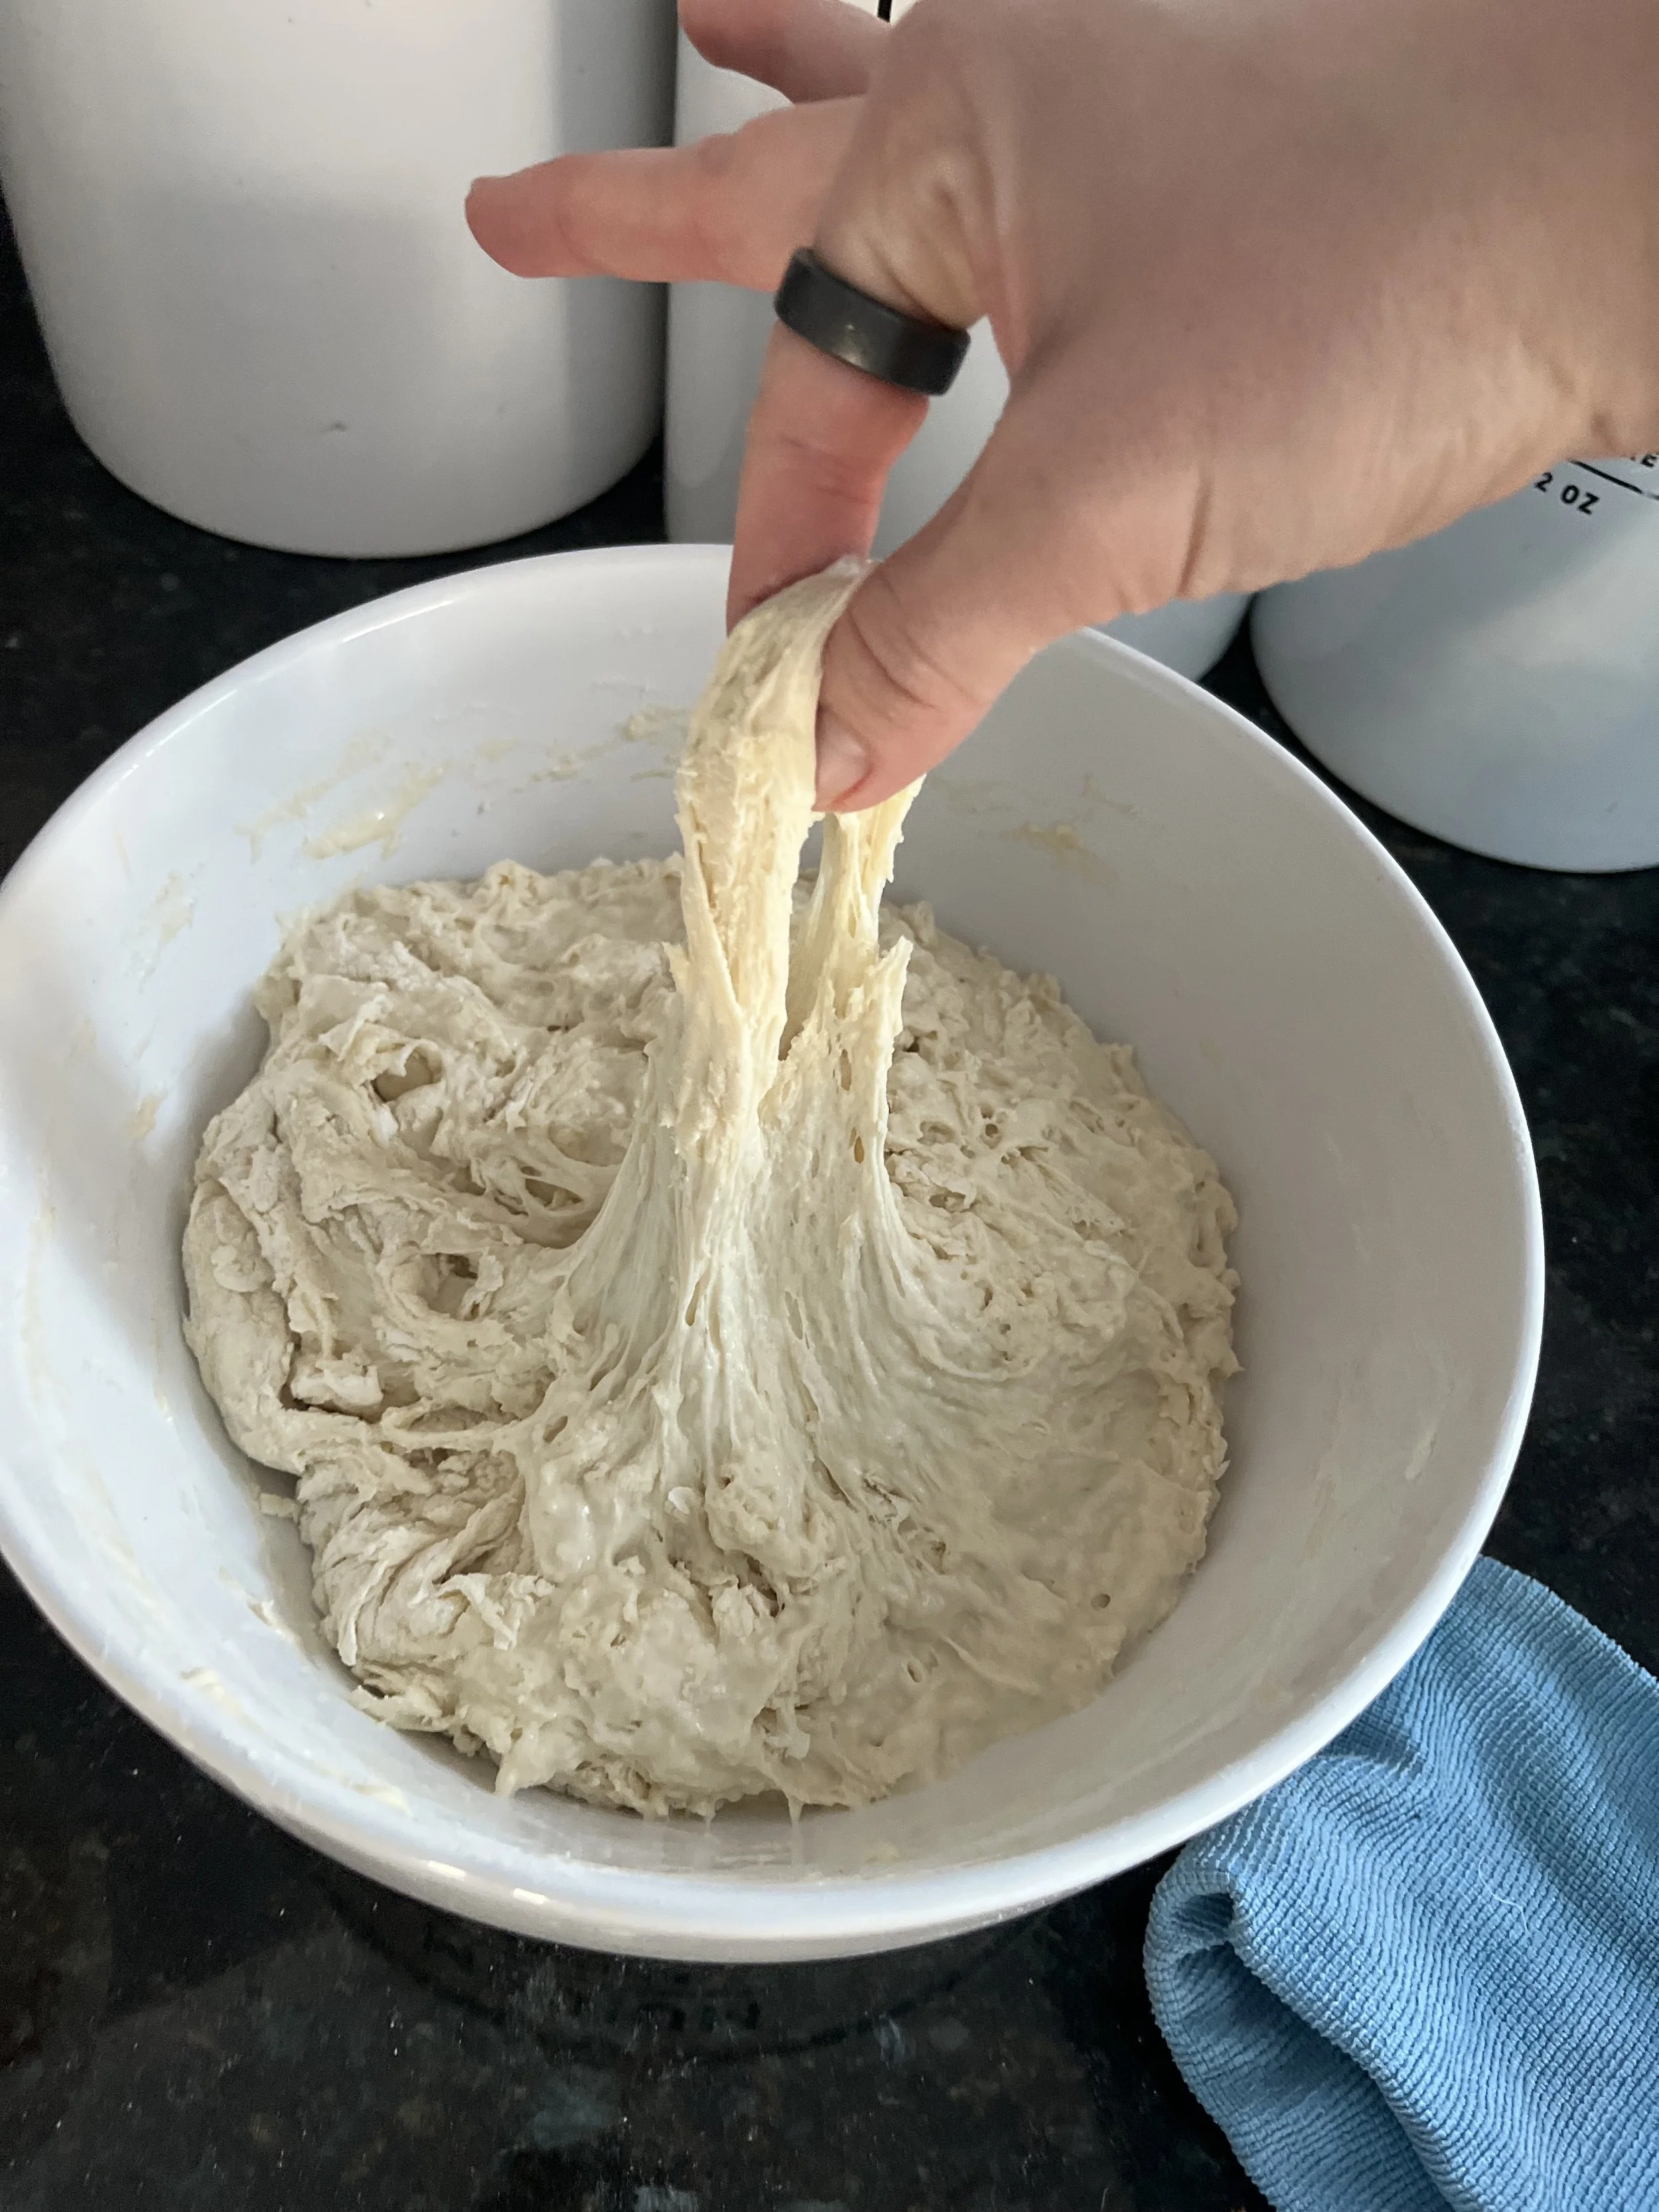
Stretch & Folds- you can do these right in the bowl with your hands! There really is only one tool you need to use which is my favorite King Arthur scraping tool, as little as $3 or less!
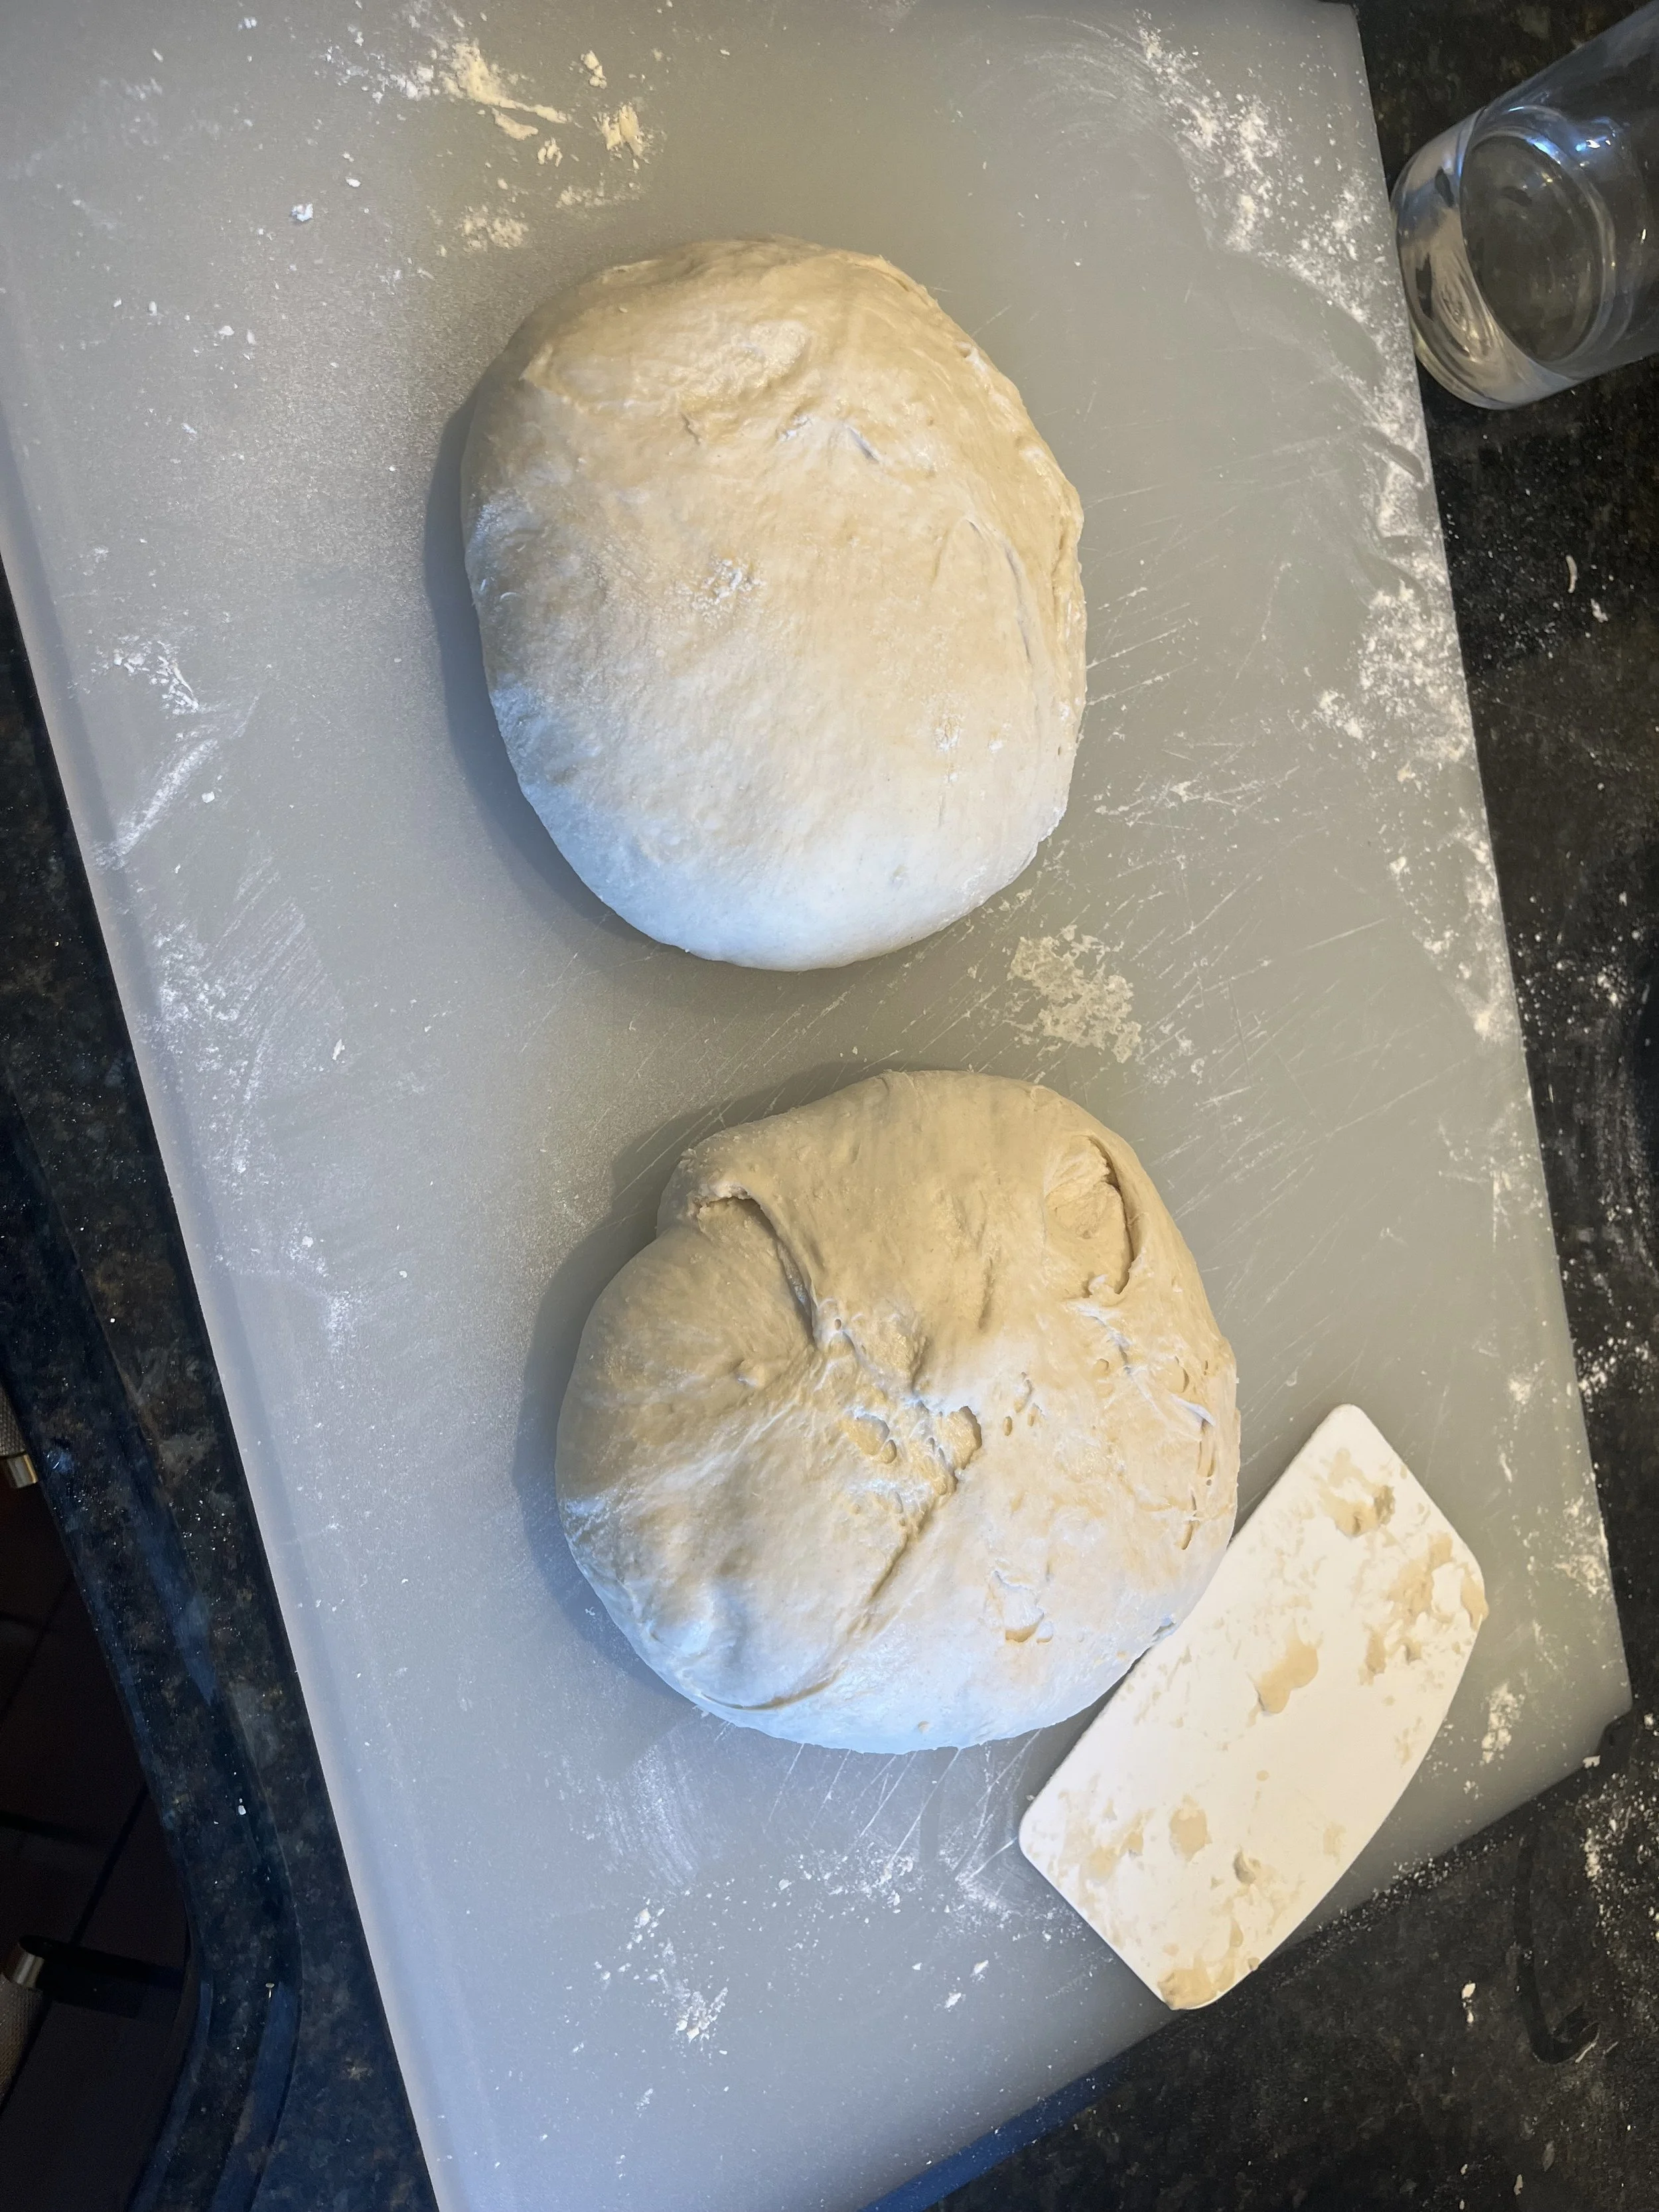
Shaping-
Two tools I use is the Bench Knife and scraper tool. Honestly, my scraper tool is much more handy if you skip the bench knife, but that’s just more fancy and quick to divide your dough.
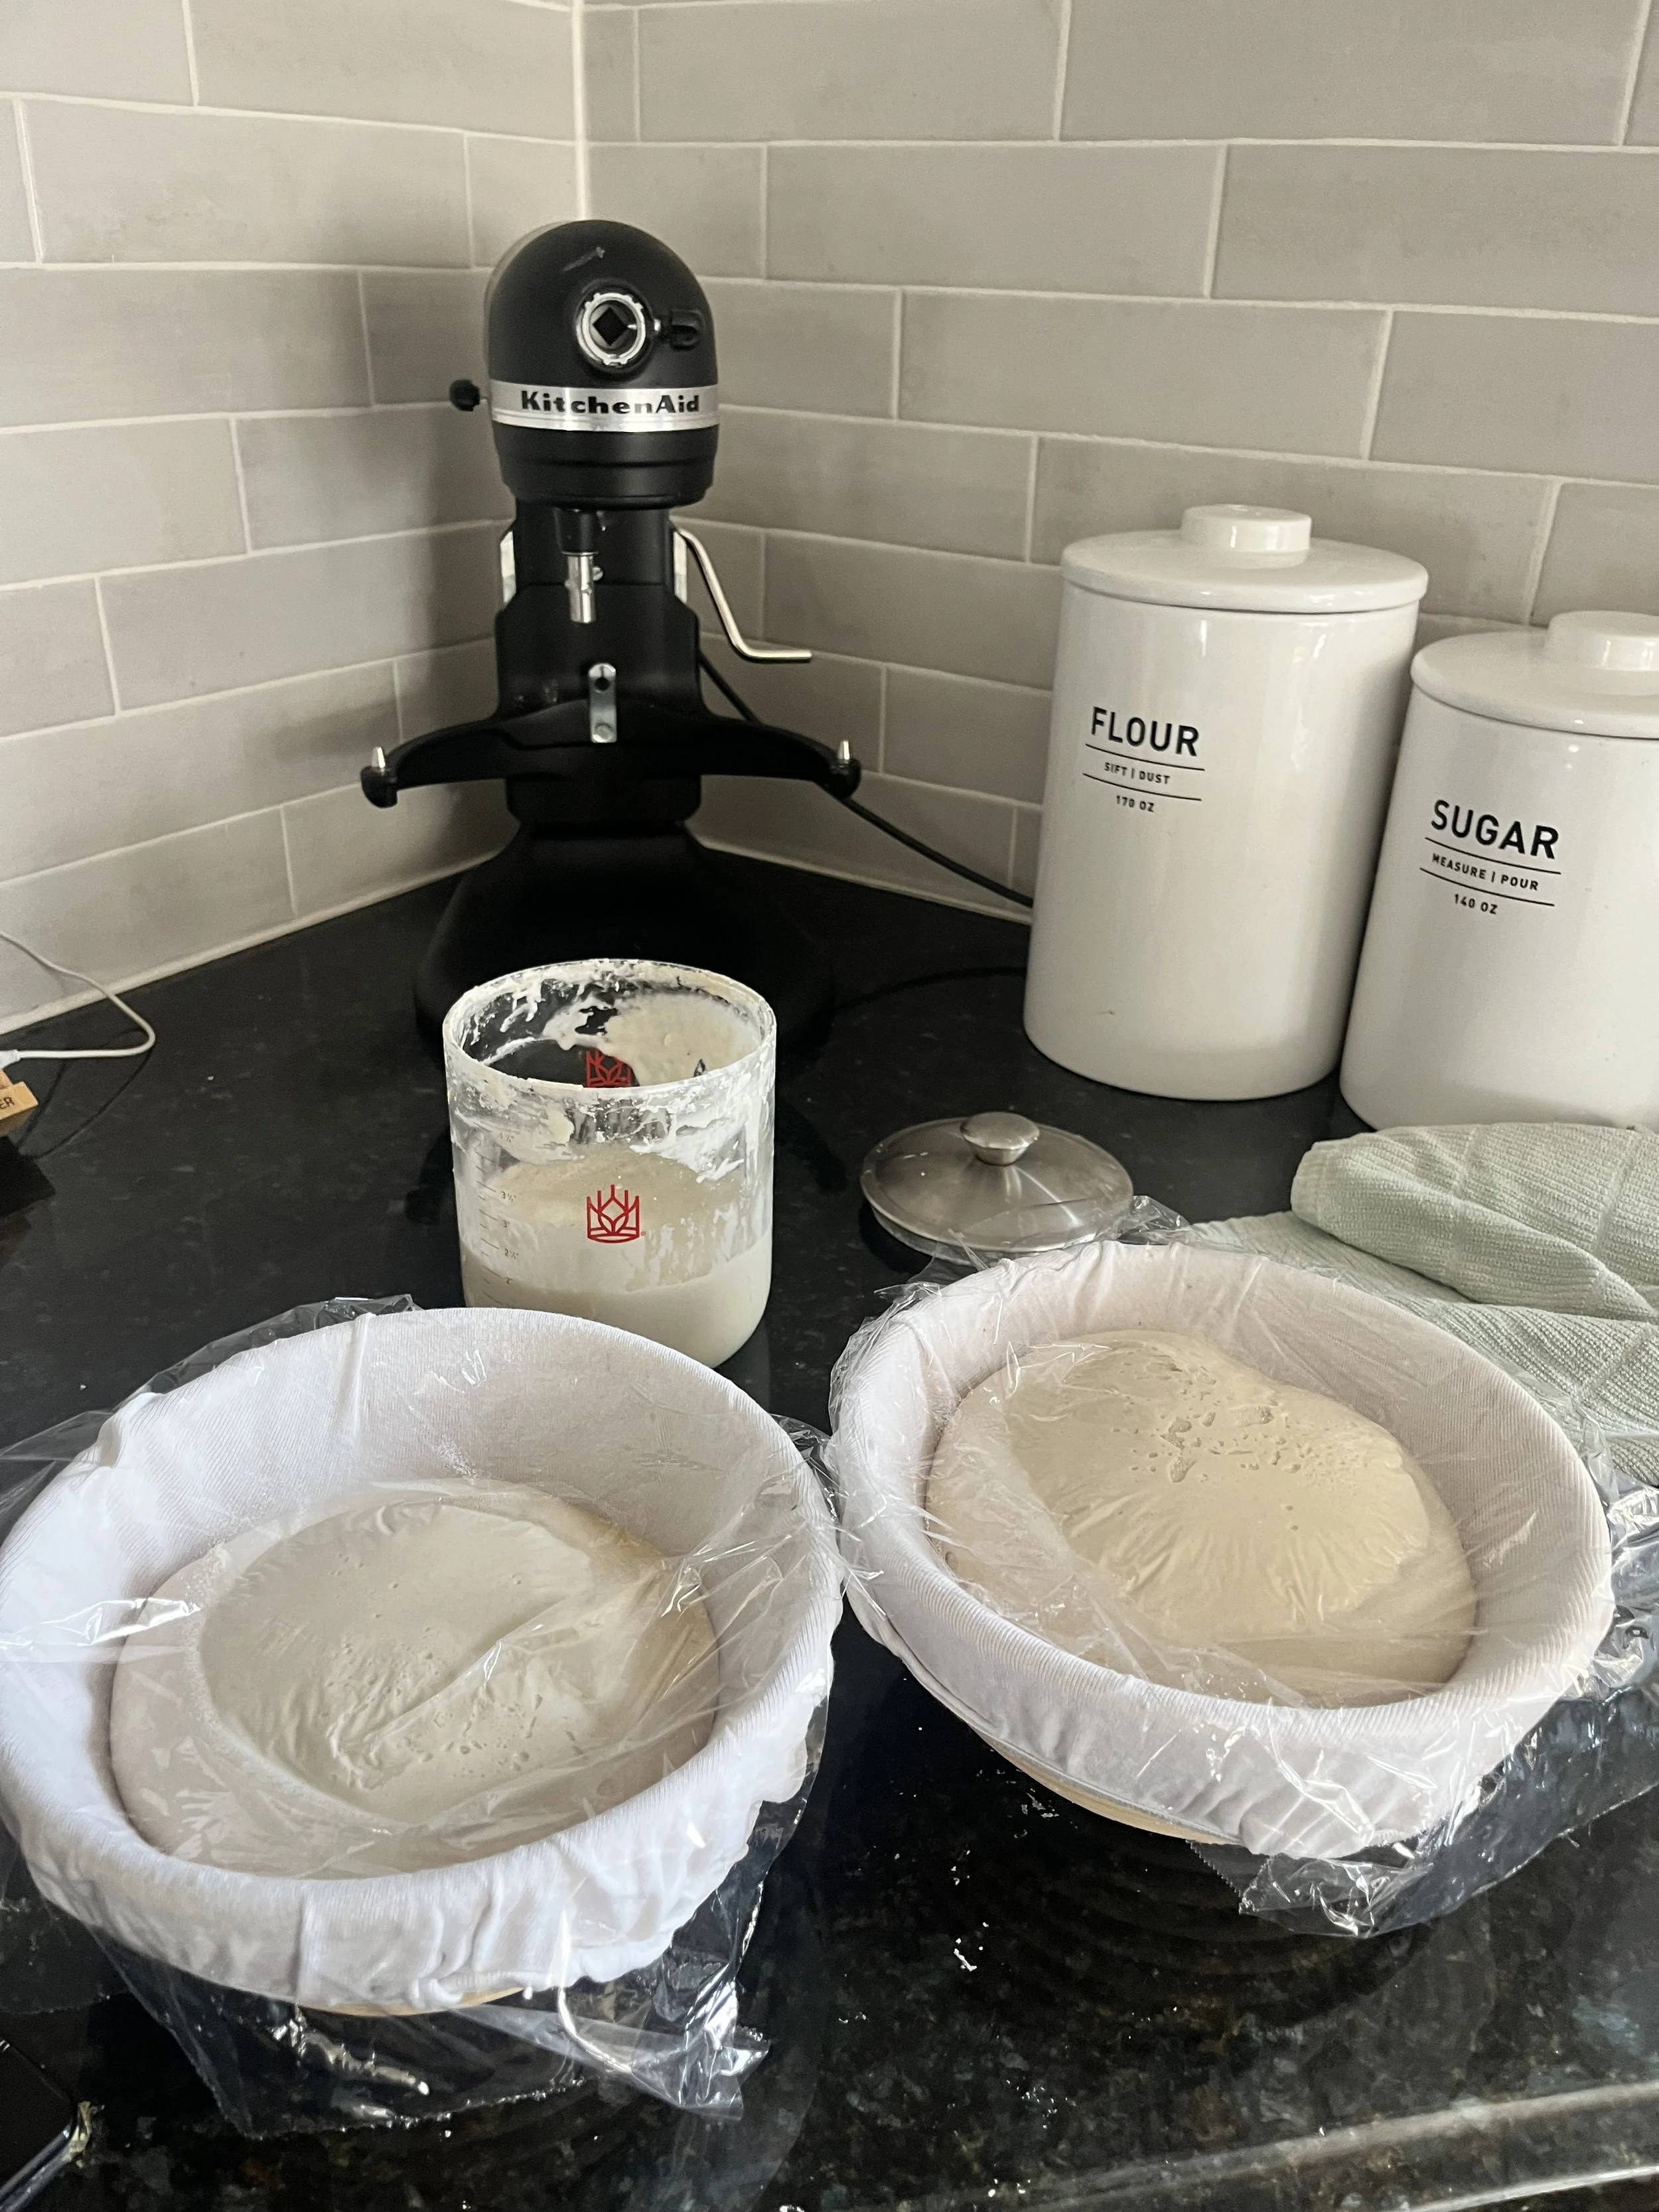
Two bolws or Brotform Bowls for resting / cold retards
At first, I used nothing fancy at all, just two regular bowls that I lined with flour. I swear, it was totally okay. These bowls were a little taller than salad bowls, about 1.5 q or less.
My Brotform bowl sets (I recommend two, since each recipe makes two loaves) came soon after my 20th-30th loaves, when Mother’s Day rolled around and I sent my husband my wish list. I love them! But, they are a little hard to keep clean. You really have to pick off the crusty dough after you use them. Skip the washer machine- they just made little black balls on the cotton and almost ruined them, but I was able to bring it back. The trick is- just don’t get them wet!
As for covering, you can use plastic wrap, or a kitchen towel- I didn’t find any difference, really. Just gotta keep your dough moist and not to dry out when you are letting them rest.
Scoring
Honestly, any razor works, but I found a cheap knock-off razor with a baking kit and it works great. You can go fancy here.
Baking-
Here’s where you can go all-out with some pretty hefty equipment and spend the most. The simplest was open-oven baking, which I did with just my oven and a small pan of boiling water on the bottom rack, baking on the top rack.
Then, I invested in a baking stone, or Pizza Stone, which I felt made it a bit more thorough baking and I liked this texture change.
But, there was NOTHING that compared to the baking shield, a small oven-in-oven effect that I was able to lift the ear of the bread so much nicer and take shape.
I will warn you, my last investment of the baking cover with a baking stone was pricey, but the overall impact of these tools has significantly upgraded the look and texture of the bread almost by night and day.
Depending on how much you are willing to invest in this hobby, there are many ways that you can do this! I want you to simply START! I started with all the things I already had around my kitchen and slowly added tools that helped me perfect the loaves I have today. I highly encourage you to keep it simple!